
Bynder Upload Guide
Bynder General User Guide
Table of Contents
Merchandising, Photoshoots & Social
Uploading to Bynder (Logged-In Users)
For team members with login access:
- Log in at https://dam.jmclaughlin.com/login
- Click the "Upload Media" button in top right-handed corner
- Select files and complete required metadata
Uploading via External Uploader (No Login)
We're encouraging all external contributors/partners to transition away from third party storage solutions like Dropbox and instead begin uploading directly to Bynder. Ideally this means having users like photographer and their assistants directly uploading assets using the drag-and-drop uploader at the same link above. Scroll down to the "Drag & Drop your files here" section.

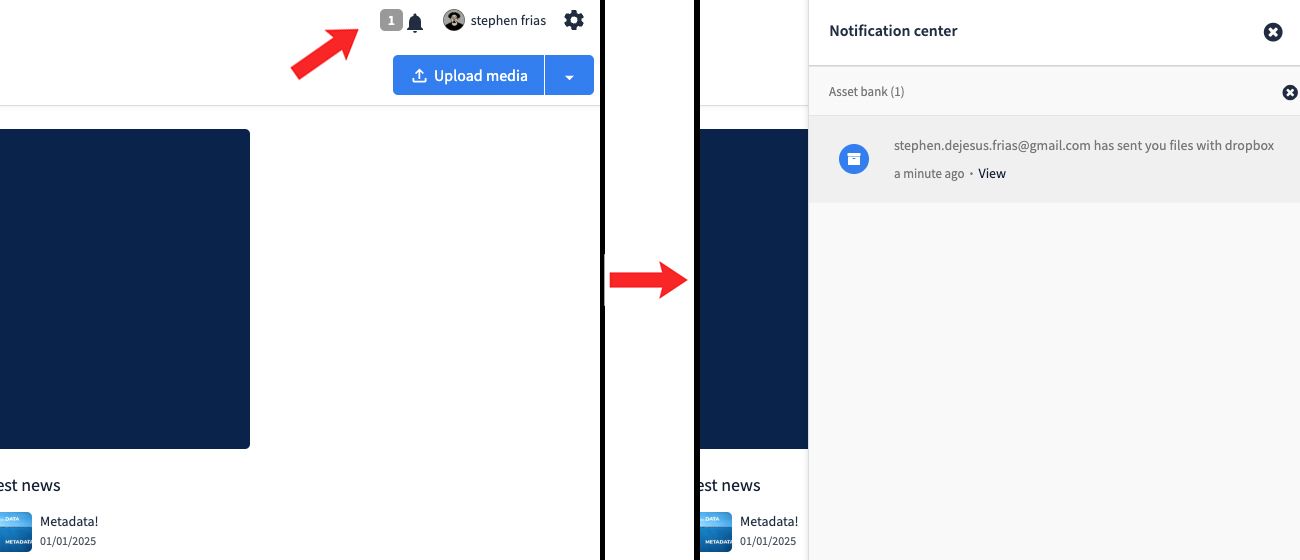
What Happens Next
- The uploader fills in sender/recipient info and completes CAPTCHA.
- The recipient receives both an in-platform and email notification.
- Assets go into Bynder's moderation queue.
- The recipient approves the files and adds metadata.


Metadata Requirements
- Required for all uploads: Asset Type, Sub-Type, Season Code, Month, Year
- E-Commerce: Photo, Editorial/On Figure, Dept: E-Commerce, Status: Unretouched, Photographer, Model, Campaign
- Marketing: Photo, Social, Dept: Marketing, Photographer, Model, Campaign
- Social: Photo/Video, Editorial/On Figure, Dept: Marketing, Influencer, Campaign
Store / Visual
Store photos should be submitted by DMs twice per year (Spring/Summer and Fall/Winter). Please use Bynder for all uploads moving forward.
Uploading via External Uploader (No Login)
DMs should use the external uploader at:
Assets will be sent to Blair for review and moderation.
Upload & Moderation Process
- The DM fills in sender/recipient info and completes CAPTCHA.
- Blair receives both an in-platform and email notification.
- Assets go into Bynder's moderation queue.
- Blair then approves the files and adds metadata.


Metadata for Store Imagery
- Asset Type: Photo
- Sub-Type: Store Imagery
- City, State
- Month, Year