
The J.McL Life - Our Blog

lifestyle
The Ultimate Guide to Rancho Santa Fe
Tucked into the rolling hills of North County San Diego, Rancho Santa Fe is where equestrian charm meets understated luxury. Think sun-drenched trails, Spanish-style estates, wellness-driven escapes, and a quietly sophisticated food scene rooted in fresh, local ingredients. It’s the kind of place you go to slow down—without sacrificing style.
Read More
style
J.McLaughlin’s Lee Anne Henrico Lets the Sunshine In with Her Debut Collection
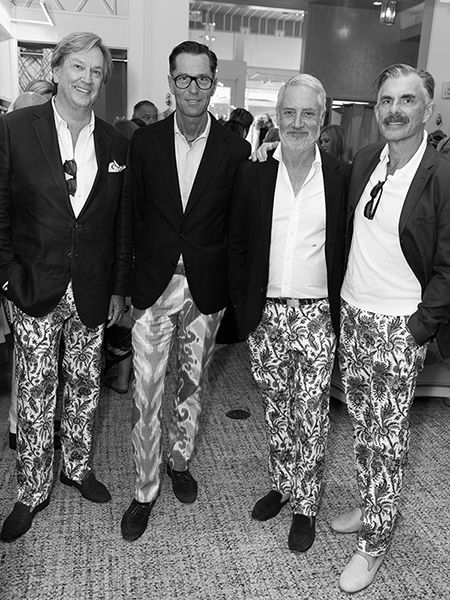
On May 1st, the brand unveiled its new season in sun-drenched style with Chief Creative Officer Lee Anne Henrico’s debut collection. The May 2026 campaign, titled “Let the Sunshine In,” was photographed on location at the historic Inn at Rancho Santa Fe. To celebrate its launch, J.McLaughlin hosted a three-day Garden Party in partnership with The Inn at Rancho Santa Fe and luxury real estate platform Métier Maison. A portion of proceeds from the weekend benefited the Rancho Santa Fe Women’s Fund, underscoring the spirit of giving woven throughout the event.
Read More
lifestyle
25 Years on Worth Avenue: A Palm Beach Celebration
Last week on Worth Avenue, our Palm Beach store was filled with the kind of energy that only comes from 25 years of shared memories, meaningful connections, and a community that truly feels like family. Friends of the brand spanning multiple generations joined us—alongside longtime customers, new faces, and our incredible store team—to toast this milestone in true Palm Beach fashion: with laughter, cocktails, and a celebration that quite literally spilled out onto the street.
Read More
lifestyle
Palm Beach Perfect: Style, Legacy & the Art of Effortless Living With Amanda Reynal, Robert Bell and Danielle Rollins
Palm Beach style has long been synonymous with effortless charm and timeless appeal. Since Henry Flagler landed on its white sandy shore and began building and developing the area, visitors and residents have been aspiring to replicate its perfect balance between its casual ease and refined elegance. This perfect harmony reveals itself in the sun-washed colors, the towering palm trees, the azure-colored water, manicured hedges and legendary beach front estates.
Read More
lifestyle
In the Hot Seat: With Barbara McLaughlin & Elyce Arons
This Tuesday, as the Frances Valentine for J.McLaughlin collaboration officially launched, we sat down with Barbara McLaughlin and Elyce Arons to talk all things color, personal style, timeless design, and the friendship at the heart of it all. From their shared love of bold hues and optimistic dressing to the pieces they’ve held onto for decades, the conversation was filled with warmth, wit, and plenty of personality. Below, they answer our hot seat questions in their own words.
Read More
lifestyle
Introducing: The 2026 Everglades Capsule Collection
We consider Florida our second home with 32 stores across the Sunshine State. With a commitment to future generations, we are honored to partner with and celebrate The Everglades Foundation for the ninth year in a row with an exclusive Everglades Collection, and Local & Loyal events.
Read More
lifestyle
An Insider’s Guide to Louisville
Friend and tastemaker Sarah Barker shares the inside scoop on the classic charm, modern flavor, and southern soul of this iconic American town.
Read More